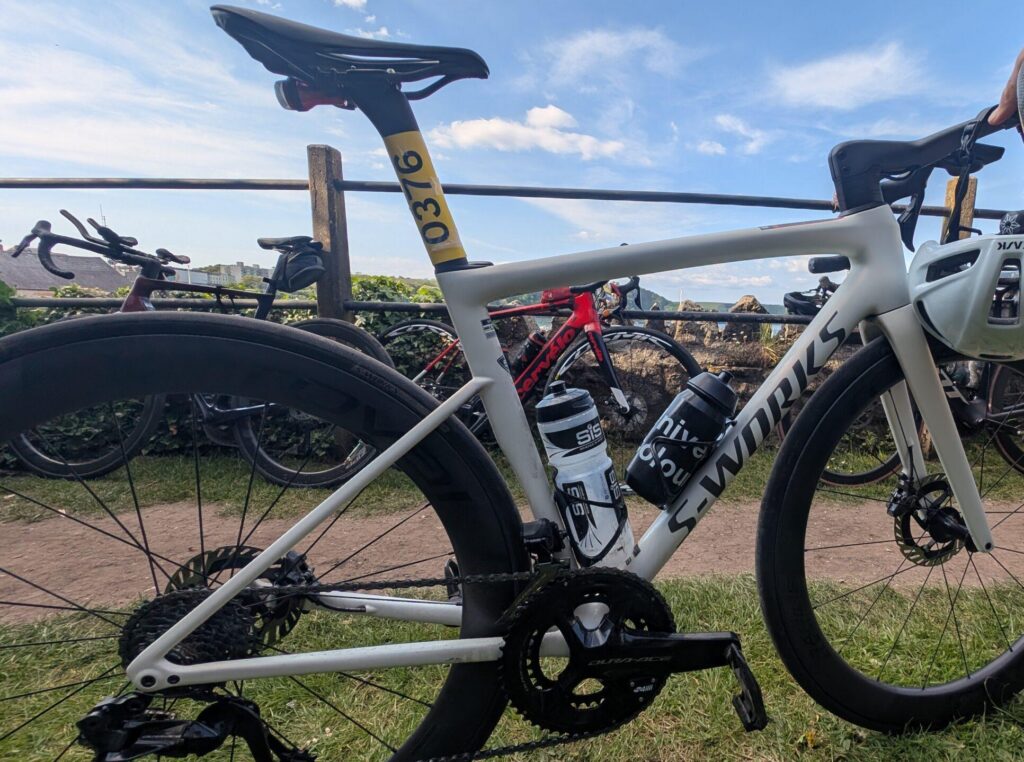
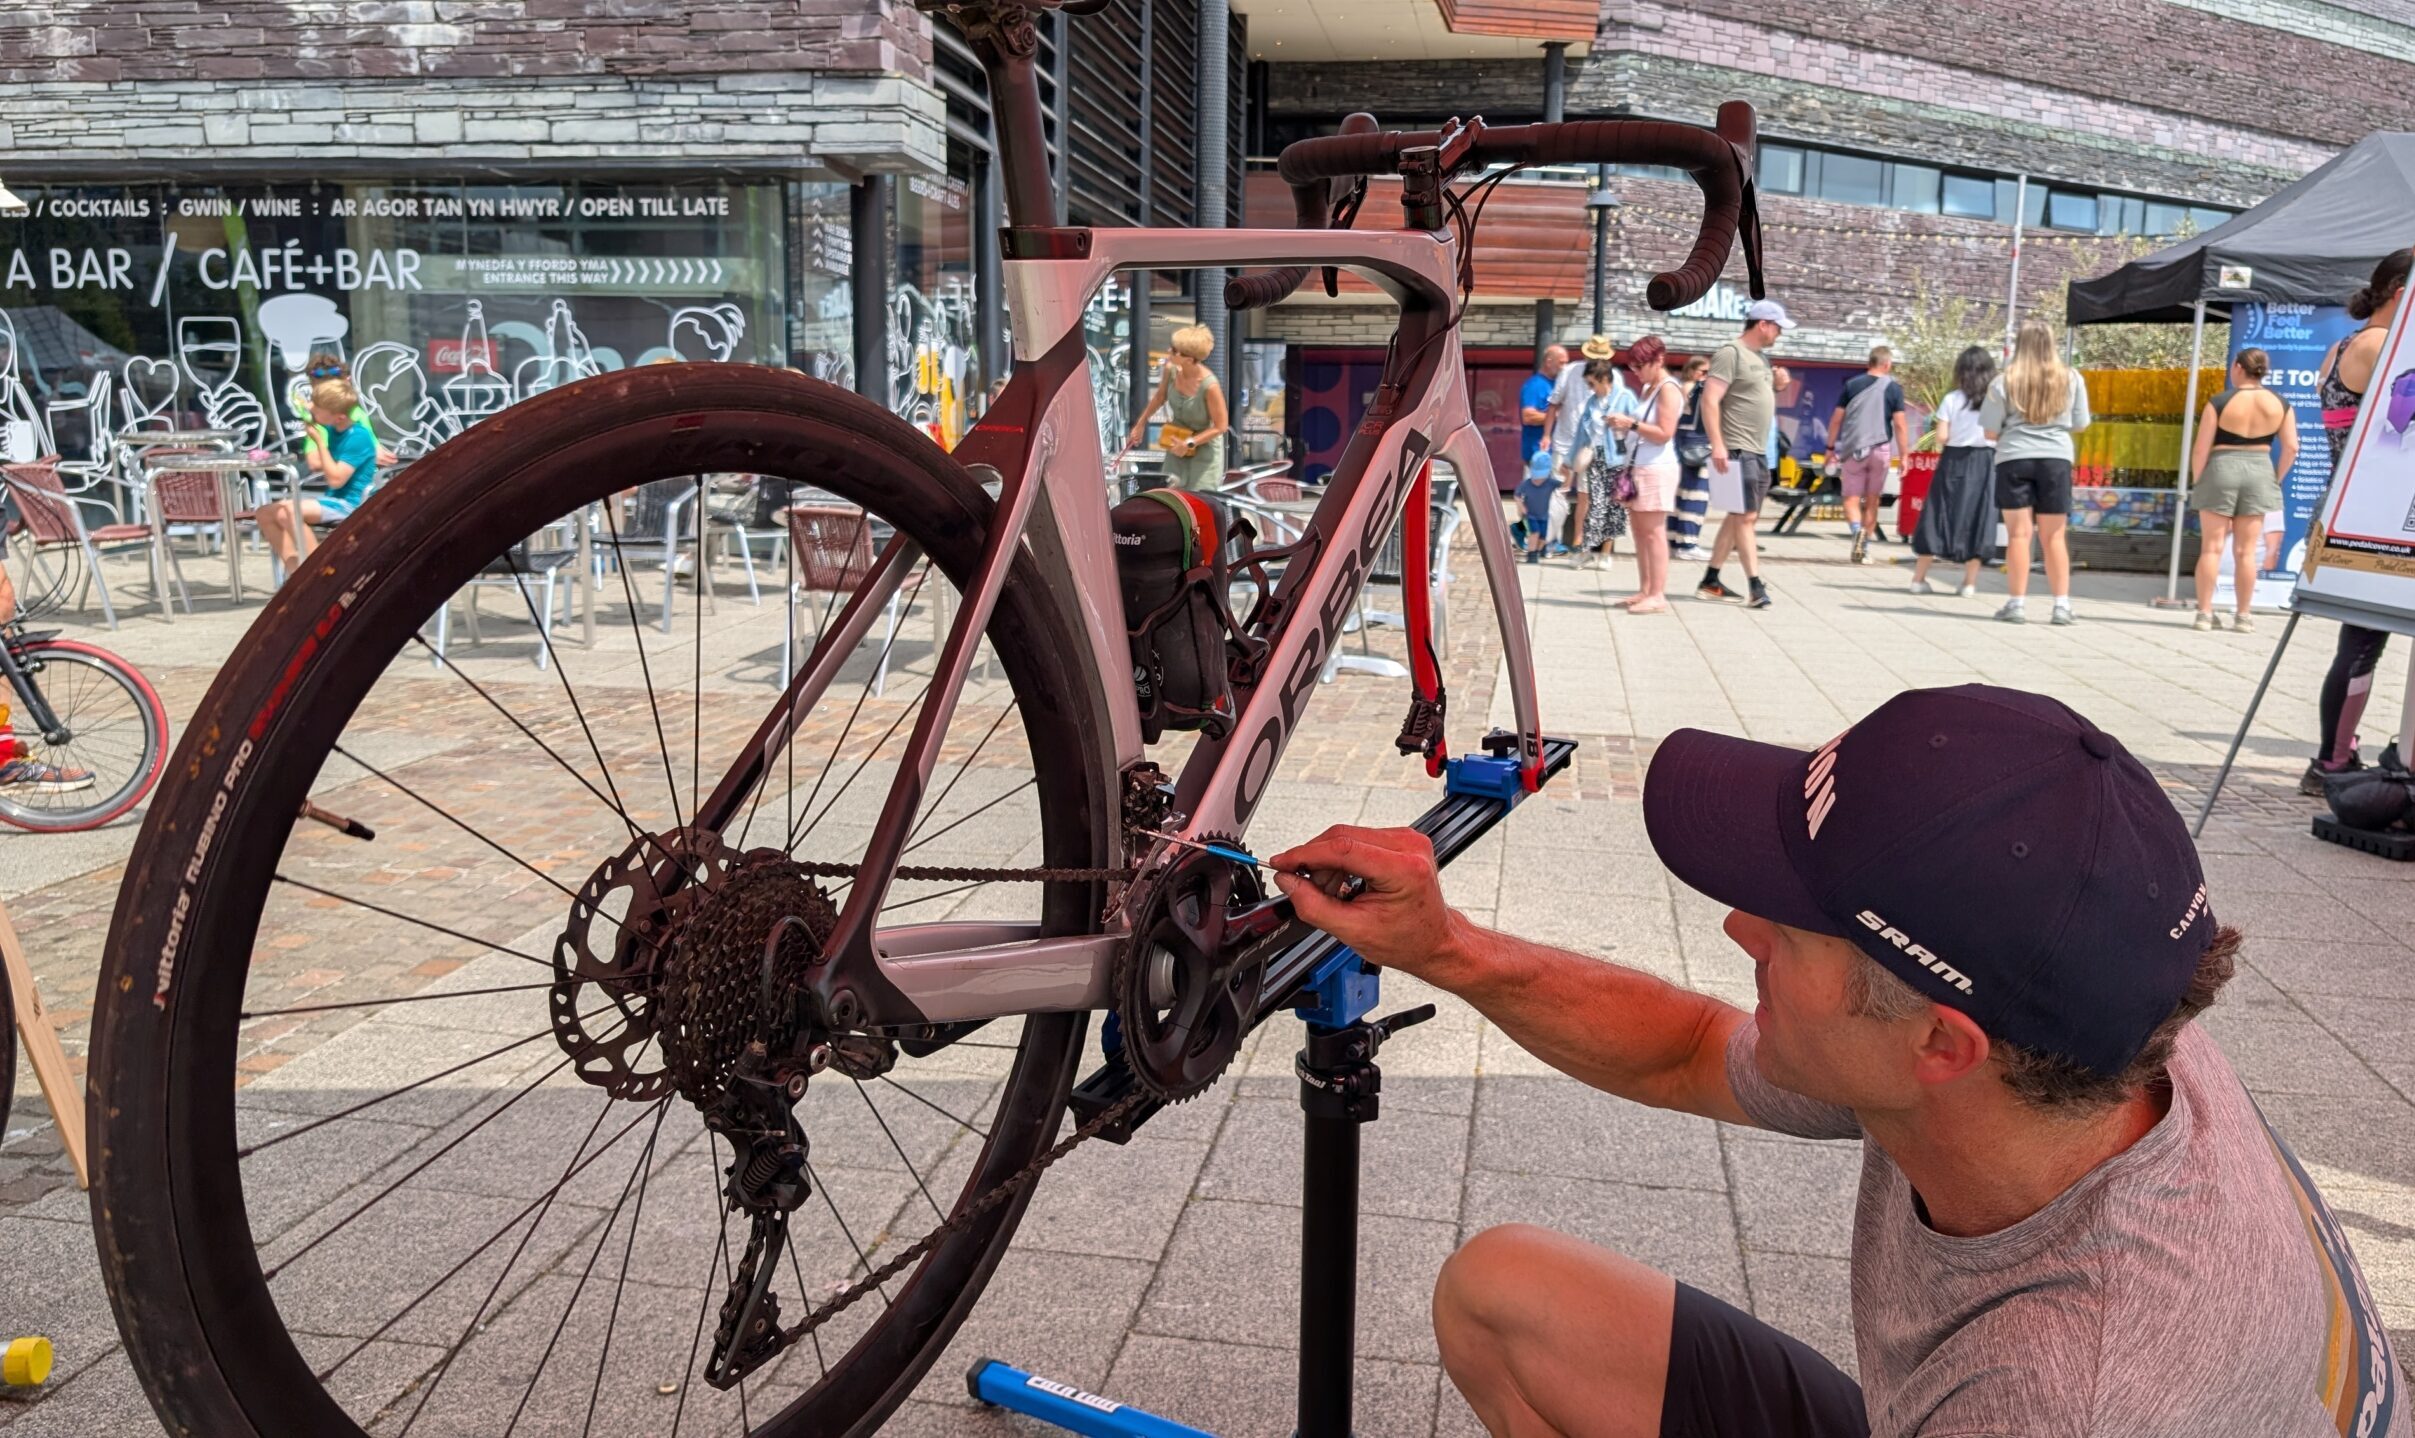
We have attended a number of events this year and even took our own ‘free to use’ bike mechanic to the AAH Events Cardiff triathlon. However, it quickly became apparent that even some of the well-sorted, ‘fast’ bikes were lacking something really important: basic maintenance.
We see it time and time again- riders turn up at the start line with loose headsets, gears skipping all over the place, or tyres on their last legs (trust me when I say this!)
You really want to be checking your bike 2 weeks out from your event, although a quick 10–15 minute check the night before can save you from a DNF, a costly repair, or worse, an accident. Here are the key areas to run through before your big day.
Poor gear alignment
Nothing kills your rhythm faster than gears that don’t work properly. If you have electronic gears, charge them!
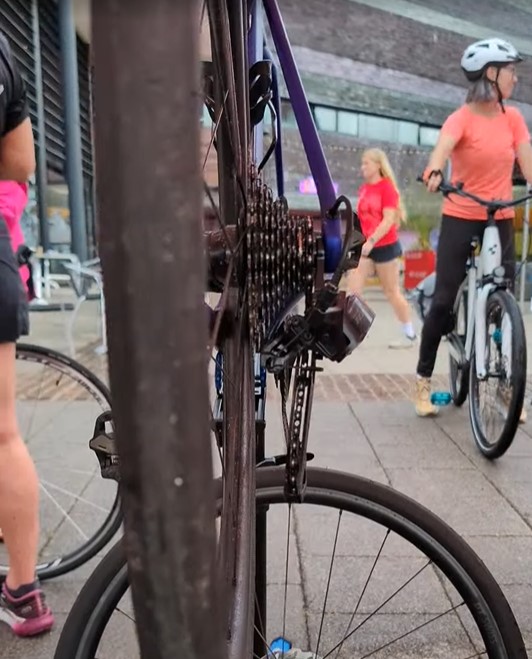
If you are riding on a hilly course, make sure that your gear hanger is not bent like the one below, as this will increase the likelihood of the rear derailleur getting eaten up by the spokes. A costly issue to resolve, but a cheap and easy issue to sort if caught in time
Run through your full range on both derailleurs to make sure everything is smooth and quiet. If your chain is skipping or rattling, get it adjusted before race day as It won’t magically fix itself mid-ride.
Tyre condition
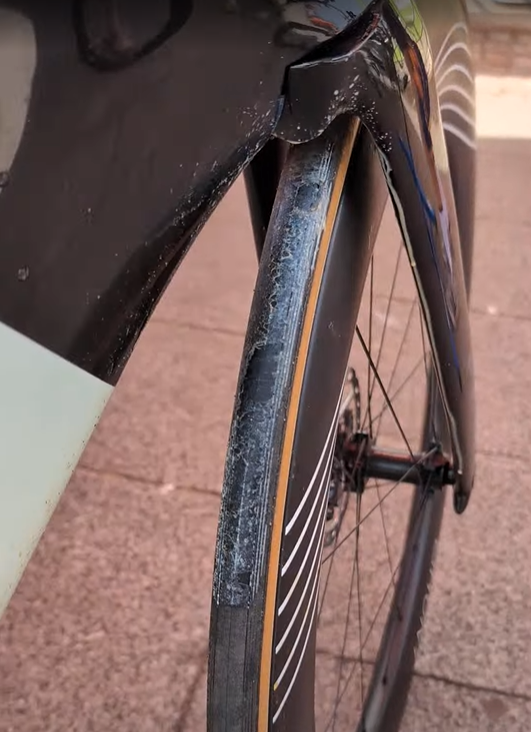
Tyres are your only contact with the road, so don’t neglect them. Check for cuts, flat spots, or excessive wear. One of the tyres we saw, was so dilapidated, the sealant was literally leaking out of the seams onto the road surface!
Are you running tubeless? When did you last top up or change the sealant? Tubeless is only as good as the sealant you put into it, so if you haven’t replenished or replaced your sealant within the last 12 months, don’t expect it to seal up your punctures!
Overtightened wheel skewers
It might not sound that serious, but we came across a few bikes where the wheel skewers were so tight that we were not able to remove them by hand, resorting to tools to help us remove a wheel. This is the last thing you want when out and about, as replacing an inner tube suddenly becomes impossible.

The all-over bolt check
Give every bolt a once-over with your multi-tool (you do have a multi-tool, right?): stem, seatpost, bars, bolt through wheel axels, bottle cages and even cleats. Headsets, in particular, love to work themselves loose, and a wobbly front end is the last thing you want flying downhill at 40mph. They also feel horrible and, if left loose, can cause irreversible damage to your frame.
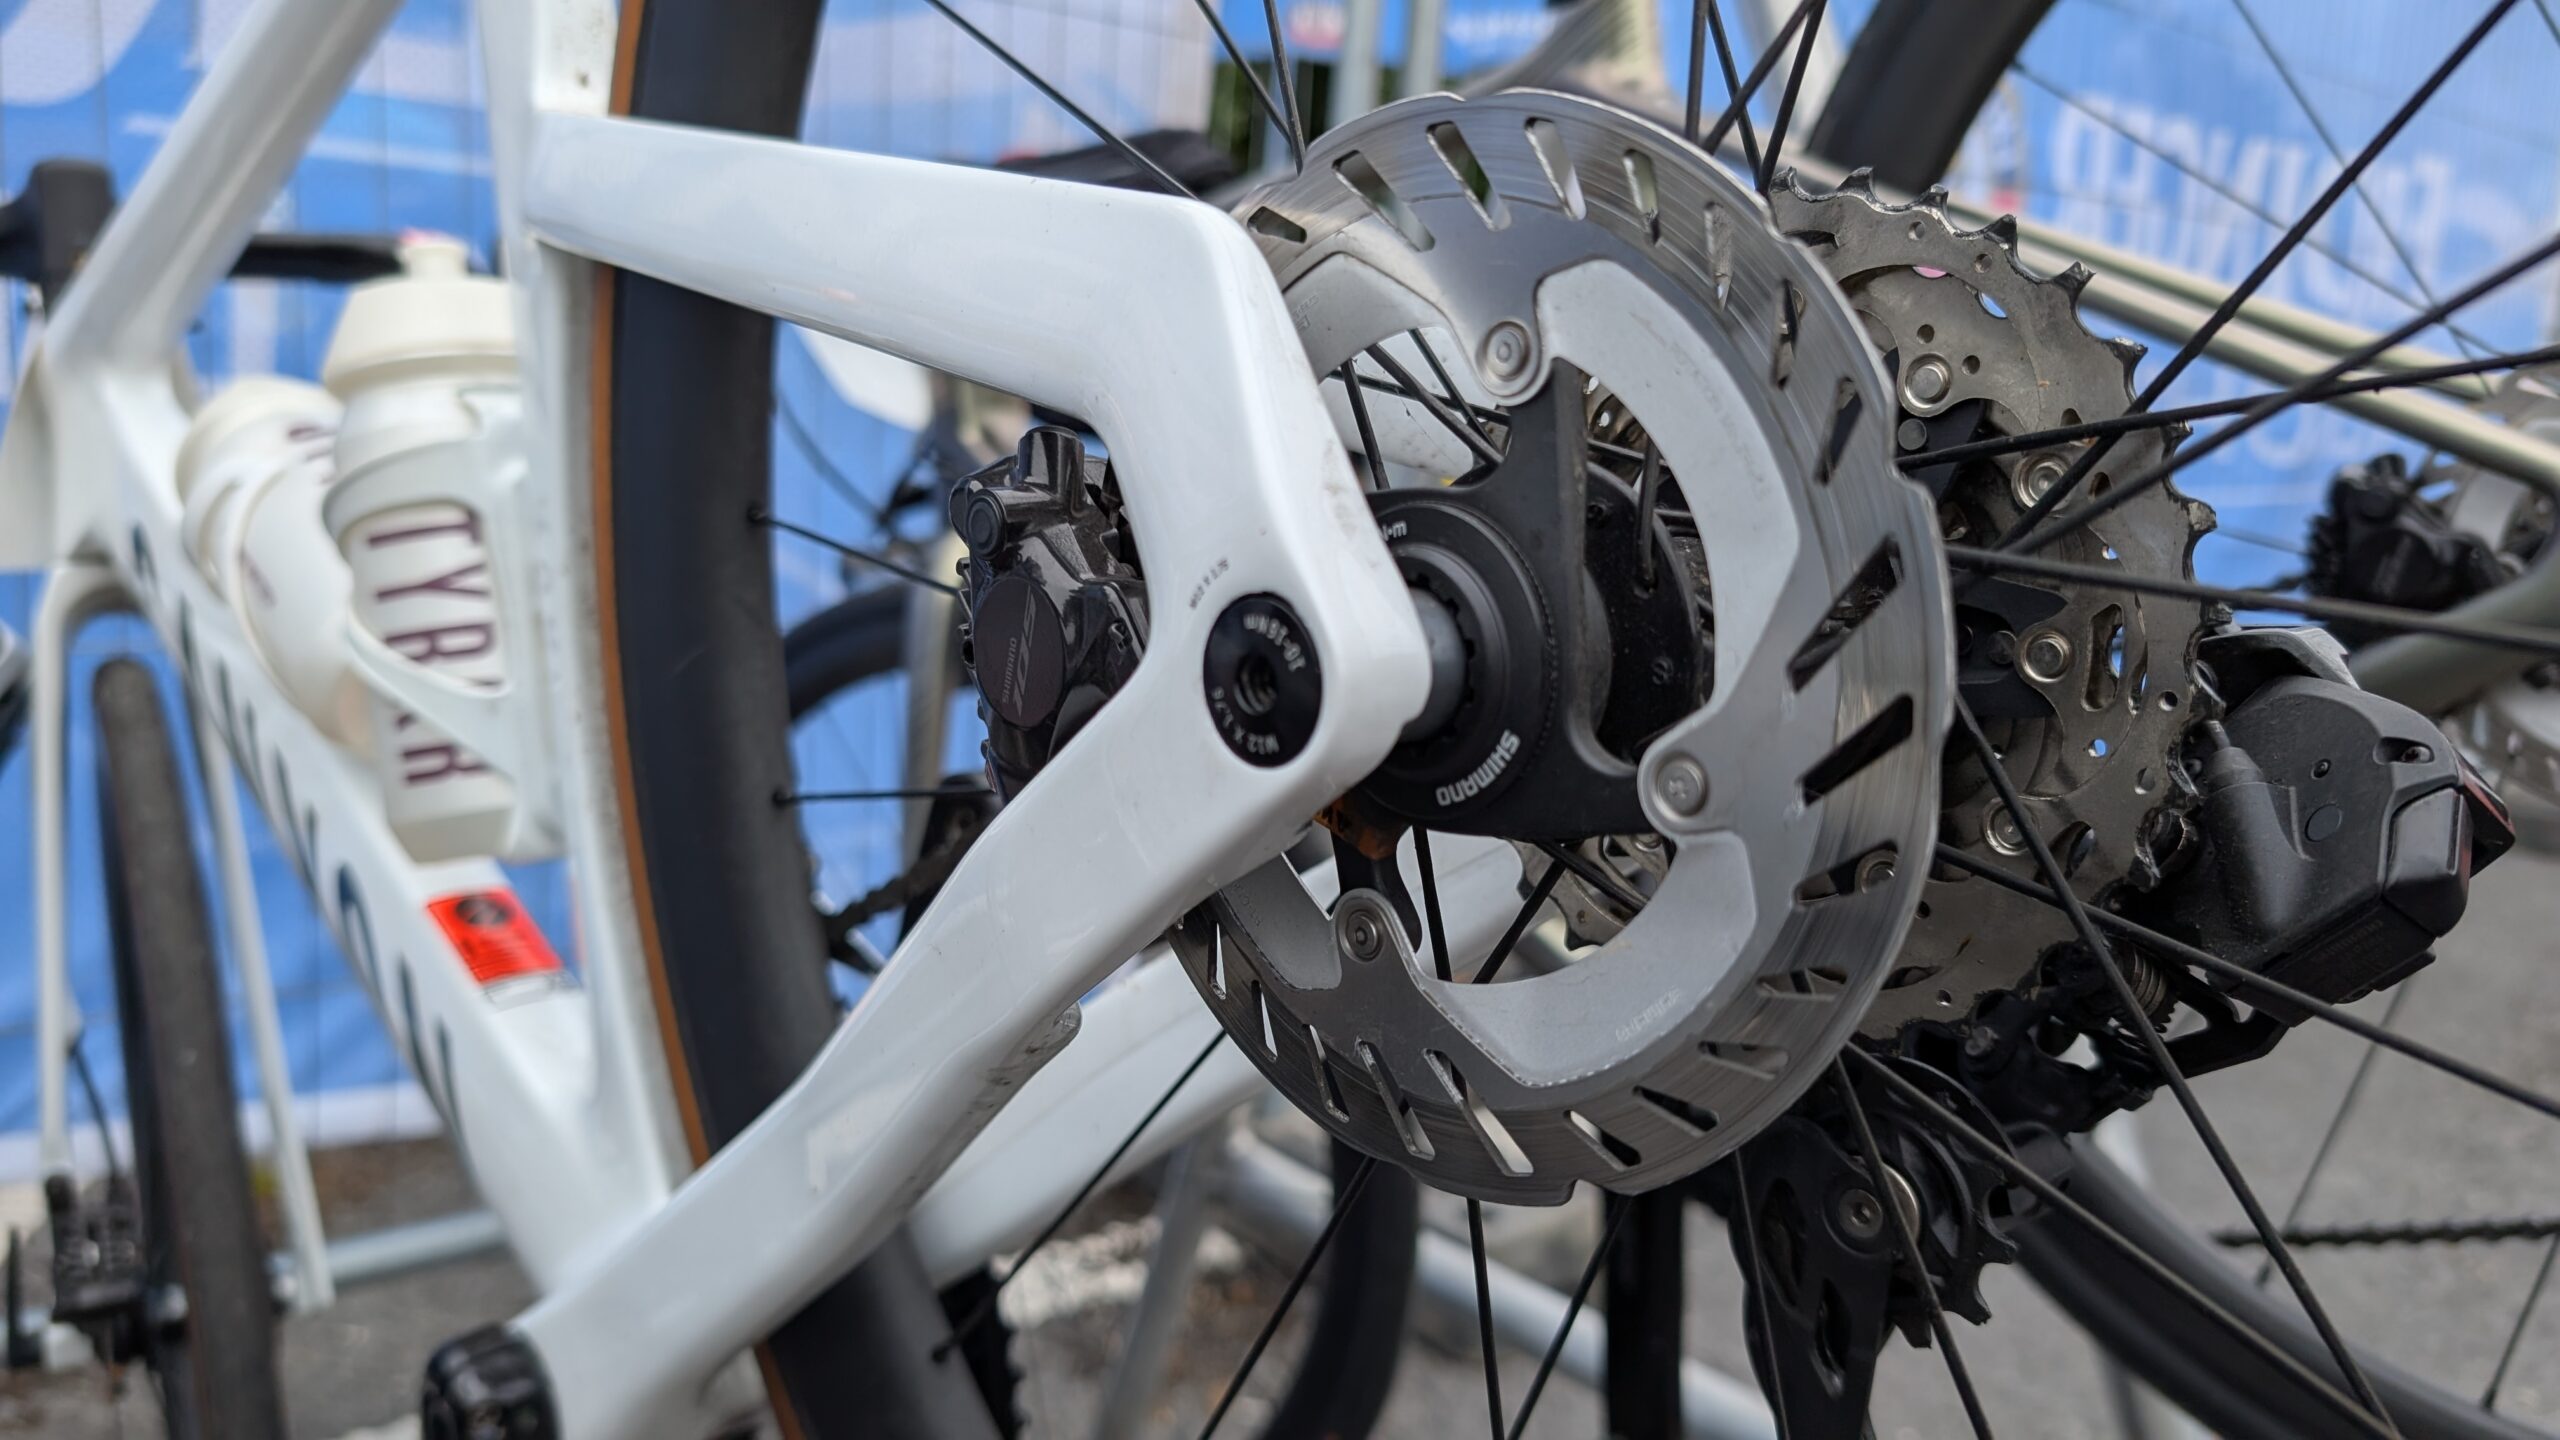
Contaminated brake pads (and a quick emergency fix)
Glazed disc brake pads are a common cause of poor braking, caused by oil or lubricant getting onto the braking surface. Symptoms include the brakes ‘howling’ when applied and, of course, poor ‘bite’ If your brakes have been contaminated and they don’t stop you, here’s the emergency hack to improve the situation:
- Remove the pads, and rub them on the floor (concrete, brick or smooth tarmac) to roughen the surface and remove the glazed top surface
- Clean the discs and pads with a drop of Fairy Liquid and water to degrease
It’s not perfect, but it should make a big difference to the braking performance.
Final tip: Do your checks in the weeks leading up to your event. Ideally, not the night before and certainly not in the car park five minutes before the start. That way, if you find a problem, you’ve got time to fix it properly.