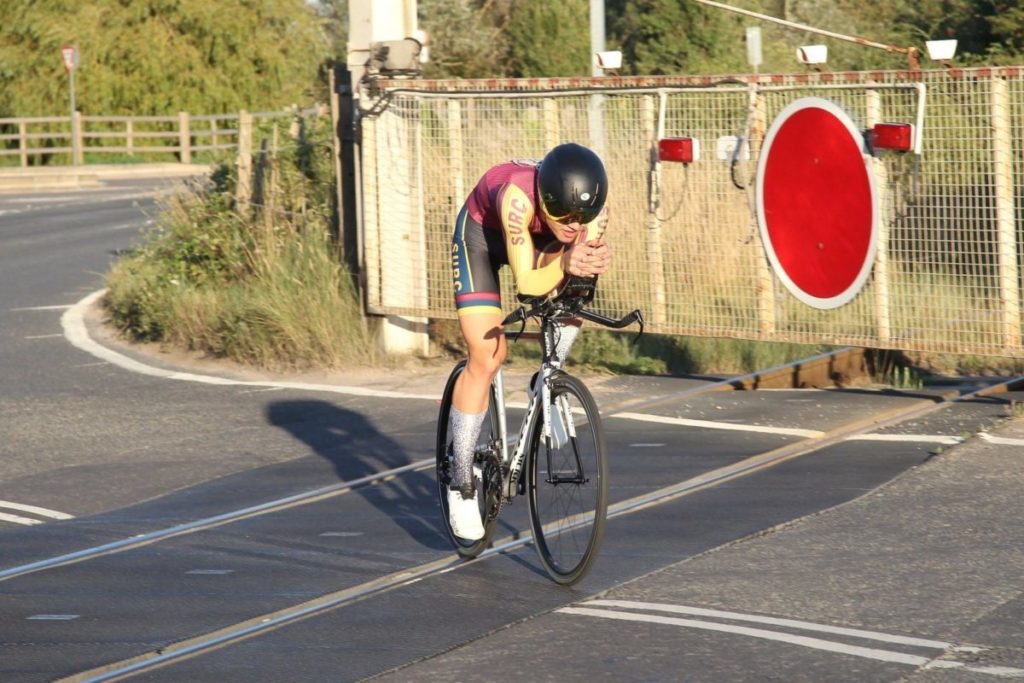
Our regular contributor, Tom, recently carried out some aerodynamic testing with his bike at Goodwood motor circuit – here he will discuss how you can do your own low cost aero tests.
There are two main contributing factors to cycling fast – especially in time trials. Firstly, how much power can you produce? The second, often underappreciated factor, is how aerodynamic are you?
Aerodynamics is a complicated subject but there are some simple tests we can carry out to figure out which is fastest. Ideally, we will get in a wind tunnel and then on a velodrome to do some testing with an aero engineer, the downside of these approaches is that it can be prohibitively expensive. Luckily for us, there’s a simpler alternative.
I am fairly aerodynamically competent, I talk about aerodynamics a lot and I spent a year of my life working as a computational physicist as well as having a physics degree. However, you don’t really need these things to do your own aero test. In fact, none of this is necessary. You do need some kit that most cyclists (well, those interested in doing their own aero testing) will already have.
Things you need
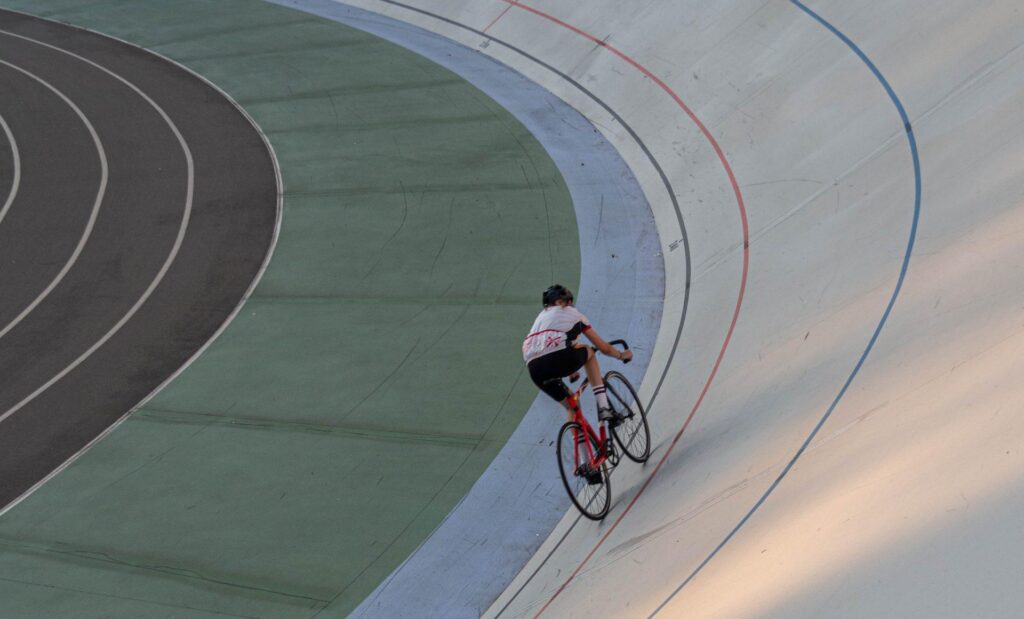
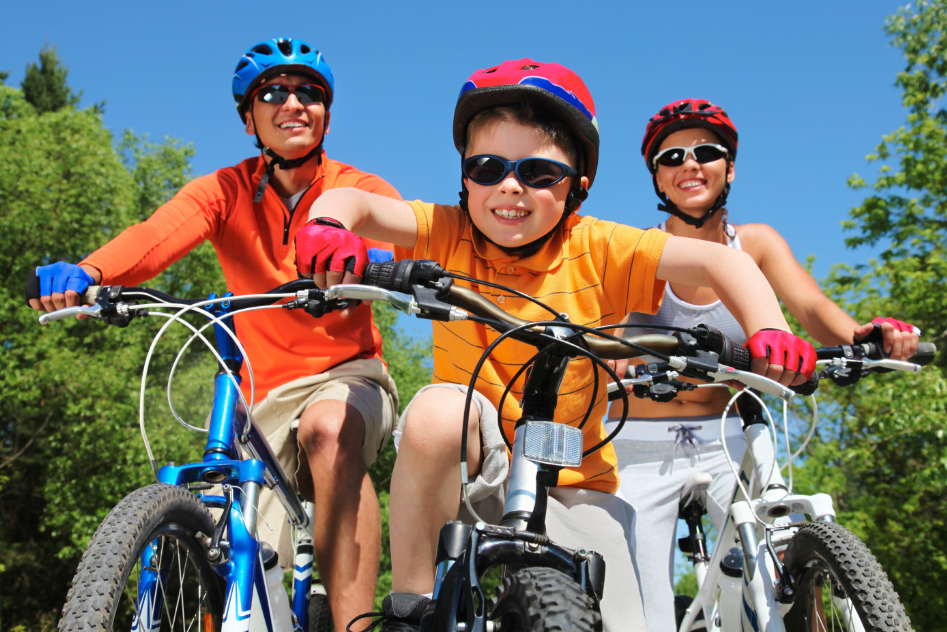
- Somewhere to go: Any old quiet, flat and smooth strip of road will do, but if you can get yourself to a motor circuit or velodrome that’ll be better. I live in the south of England and 50 minute drive away from Goodwood. I popped my bike in the car and headed over for one of their Sunday morning sessions. It cost £10 for track access and you can have as long as you like between 9am and 4pm. All variety of cyclist were there – everyone from kids with their parents to seasoned time trialists looking for somewhere to train (or test) and recumbent enthusiasts. Another option would be to just hire a velodrome, though this is not always easy to do unless you’re plugged in to the track world – which I am not…
- A calm day: Consistency between runs is very important. Having calm, consistent weather is ideal. It’s even better if you can have race conditions (ie if you’re racing somewhere hot then do this on a hot day) though I appreciate this isn’t always possible. If the weather does change mid test for you it’s not wasted time, but you’ll need to take account for that when analysing your ride data.
- Something to record your data with: Generally speaking, when testing anything you’ll want to record as much as you can in a non-invasive way. For my purpose I recorded power, speed, heart rate and cadence. I also weighed myself on the morning of the test and wrote down what I ate during the course of testing. One thing I learned when working as a scientist; record everything you do that’s possible to record, even the things you don’t think are important. You never know when having access to that information will come in useful. You’ll probably need a head unit too – though if you have a power meter then you’ll probably have this anyway. A decent record of the day’s weather is also worth having.
- Some stuff to test: I tested all sorts and I was there for about 3 hours. For example, if you want to test 3 helmets I would bring your normal road helmet to do as a baseline, then test each helmet individually. If you’re testing skin suits then remember to bring a towel or changing robe. I was glad to have my dryrobe when I arrived and found there was no changing rooms.
- Some software to check your data: This comes after. You don’t need anything particularly fancy provided you can see all the metrics that you recorded. The free software that usually comes with head units (such as Garmin Connect) will be good enough as long as you can see speed, temperature, average power and normalised power. Some reliable weather data for your location that day is probably also handy, though not massively necessary provided you ran your test on a calm day.
How to actually test stuff
Now we have a list of what we need, we’ll work through what we actually do when we arrive at our testing location.
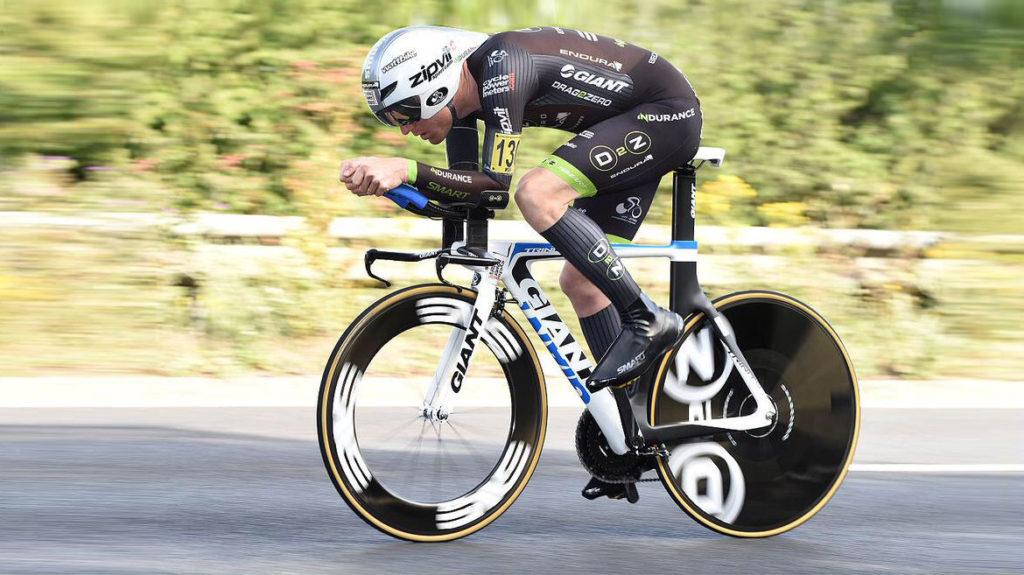
The first step is to do a baseline run – this is to serve as a starting point. Taking the example of testing different TT helmets we would call the run in our road lid the baseline run.
The next step is to work out your run speed. Runs should be taken at as close to race speed as possible. We want to find the helmet that’s optimal for our race, meaning if you’re an ironman athlete you’ll be riding at a different speed to someone who focuses on 10 mile time trials. What’s optimal for 50kph is not always optimal for 40kph and so on. Aerodynamics is a strange beast. If race speed is not sustainable for testing (if it’s faster than your current fitness allows) the next best thing is to aim for consistent power across all tests – looking for a change in speed in analysis.
The third thing is to make sure your runs are consistent. Consistency between runs is very important so ensuring you have the same pressure in your tyres, holding the same position and riding the same lines is vital. The aim is to isolate the thing that you’re testing as best as possible – you won’t achieve the same precision found in a wind tunnel but by being conscious to keep your runs the same you’ll get close enough to observe differences.
Finally – taking repeats. Repeating runs is ideal, if you can then do at least three of each but this isn’t always possible due to time constraints. Go into this with the mindset of a science experiment, not with the mindset of a bike ride. Repeating measurements is as important with aero testing as it is in science.
The more time you allow yourself to focus on the little things the better your testing will be.
Analysing data – what to look for
This is going to be a very basic description as when analysing any dataset there’s no end to what you can do. For our purpose we will assume we have 4 power files loaded into an app which allows us to see power and speed data. If you want to be fancy you can calculate your CdA with this information, but keeping things simple, you’ll want to look at the two metrics – speed and power. If your speed is higher for a lower power then you were more aero for that run. It’s possible to write a book on the number of things you could test, but this is a good place to start. It’s not all that I did but it’s a reliable means of fairly basic analysis that requires no expertise and has a low probability of mistakes.
What’s next
Aero testing is deep a rabbit hole, and this barely scratches the surface. There’s a million and one things you can do to analyse aerodynamic data (I should know, I’m a data scientist) but the key point is following the tips given here to ensure high quality data collection. Good analysis on bad data still yields bad results so by ensuring you change one thing at a time, repeat your runs, record your data on a calm day and do a baseline run you’ll have data which can be analysed. If you have more questions or want help with your data analytics you can get in touch with me via my instagram.
Aero kit is expensive and can be stressful kit to own. If you want peace of mind then check here for home insurance designed specifically for cyclists!